
You’re all set to roll—your bag is packed, the path is clear—but your wheelchair won’t budge. The joystick is dead, the wheels are locked, or the display is flashing a mysterious symbol. You need to unlock a wheelchair, and fast. Whether it’s a basic manual model with physical brakes or a high-tech powered chair with electronic security, knowing the exact unlock method can restore your mobility in seconds. This guide delivers clear, step-by-step instructions for every common wheelchair type, based on verified mechanisms and real-world use. No guesswork, no frustration—just reliable solutions that work.
Manual Wheelchair Unlock Steps
If your manual wheelchair won’t move, the issue is almost always the wheel locks (brakes). These are mechanical, not electronic, and must be physically disengaged before rolling. Most models have locks on both rear wheels.
Identify Your Lock Type
Three main types exist—check both sides to confirm:
- Push-to-lock levers: Most common; pushed down to lock, pulled up to unlock.
- Scissor-style brakes: Two metal arms that clamp the tire when spread apart.
- Locking push handles: Rear push handles that lock when pressed down.
Each requires a different release method. Always unlock both sides to avoid wheel damage or uneven movement.
Release Push-Down Brakes
This is the most common system on standard wheelchairs.
- Stand behind the chair.
- Locate the lever just above each rear wheel.
- Pull upward firmly until the lever clears the tire and clicks into the upright position.
- Test by gently pushing the chair forward.
✅ Visual cue: The lever should be fully raised and not touching the wheel. If it drags, it’s not fully unlocked.
⚠️ Never roll with one brake engaged. It causes tire wear, frame stress, and makes turning difficult.
Open Scissor-Style Brakes
Used on some lightweight or older models.
- Grip the two arms of the brake (they form a “V” shape).
- Squeeze them together to release tension.
- Lift upward to disengage from the tire.
- Repeat on the other side.
🔧 If stiff or stuck, apply penetrating oil like WD-40 to the pivot point. Work it gently—don’t force it.
Unlock Push-Handle Brakes
Some wheelchairs lock when the attendant push handles are pressed down.
- Lift both rear handles upward until they click.
- Listen for a release sound—this confirms the brake is off.
- Ensure both sides rise evenly.
🔍 Check alignment: If one side doesn’t lift, the mechanism may be bent or misaligned. Adjust manually or contact a technician.
Powered Wheelchair Unlock Procedures
Powered wheelchairs use electronic locks to prevent accidental starts or unauthorized use. These are controlled via the joystick or remote and vary by manufacturer and model.
How to Tell If Your Chair Is Locked
Common signs your powered wheelchair is locked:
- Joystick doesn’t respond
- Flashing lights or symbols
- Beeping when powered on
- Horn button doesn’t work
- Speed indicator scrolls or ripples
If any of these appear, your chair is in lock mode. Use the correct unlock sequence below.
VSI Controller: Forward-Backward Unlock
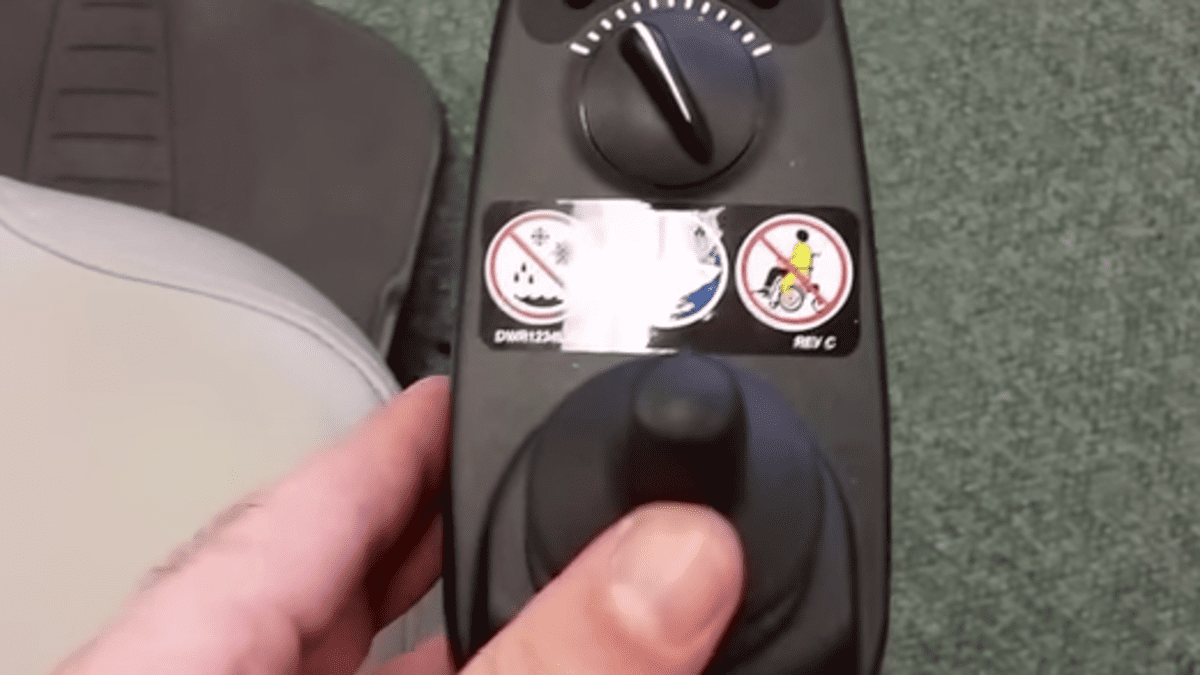
Lock sign: Joystick completely unresponsive.
Steps:
1. Power on the controller.
2. Push the joystick fully forward until you hear a beep.
3. Pull it fully backward (into reverse) until a second beep.
4. Release to center.
✅ The controller is now active. Move slowly at first.
🕹️ Pro tip: Use the full range of motion. Partial movement won’t trigger the unlock.
VR2 / RNET LED Controller: Beep Confirmation
Lock sign: Flashing LEDs, no response.
Steps:
1. Turn on power.
2. Push joystick forward until first beep.
3. Pull backward until second beep.
4. Wait for a long final beep—this confirms unlock.
🔊 No long beep? The system is still locked. Repeat the sequence carefully.
nVR2 Controller: Power-On Sequence
Lock sign: Speed indicator ripples up and down after startup.
Steps:
1. Press the on/off button.
2. Wait for the power-up sequence to finish.
3. Push joystick forward until a beep.
4. Pull backward until a second beep.
5. Release to center.
✅ A long confirmation beep means success.
⏱️ Timing matters: Don’t start the sequence too early. Wait for the ripple animation to begin.
DX2 REM A/B & Shark Controller: Horn Key Unlock
Lock sign: LEDs scroll or flash for 10 seconds after power-on.
Steps:
1. Power on the controller.
2. Within 10 seconds, press the horn button twice.
3. The system unlocks automatically.
⚠️ Missed the window? Power off, wait 10 seconds, and try again.
🔄 These models often auto-lock after 5 minutes of inactivity—always re-attempt the unlock if the chair has been idle.
G90 / ACS REM 24 Controller: Magnet Unlock
Lock sign: Flashing red key symbol on the display.
Steps:
1. Power on the system.
2. Take a magnet (a fridge magnet works).
3. Swipe it slowly over the red key symbol area.
4. The symbol stops flashing—unlock confirmed.
🧲 Magnet hacks: Users report success with magnetic name tags, screwdrivers, or neodymium magnets.
❌ No magnet? There’s no manual override. Contact the manufacturer for a replacement or temporary solution.
LiNX Controller: Quick Horn Press
Lock sign: Remote is unresponsive after power-up.
Steps:
1. Turn on the remote.
2. Within 10 seconds, press the horn button twice.
3. System activates.
⏳ Practice the timing. Delayed presses fail. If no response, restart and try again.
Troubleshoot Failed Unlock Attempts
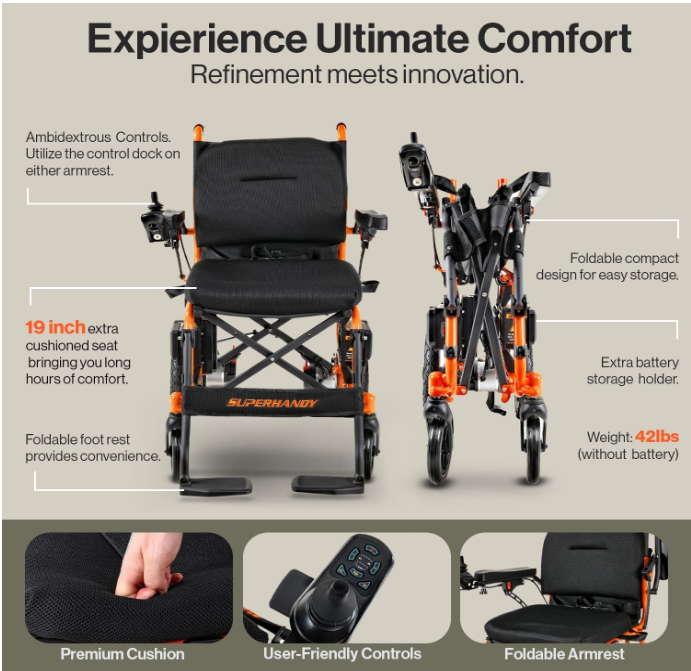
Even with the right steps, problems happen. Here’s how to fix them.
Chair Won’t Power On
- Check battery charge. Plug in the charger—look for green or blinking lights.
- Inspect battery connections. Disconnect and reconnect at the controller.
- Look for damaged wires near the motor or joystick.
🔋 Battery reset: Disconnect power for 30 seconds, then reconnect. Often clears electronic glitches.
Joystick Beeps But Won’t Move
- Ensure the joystick is fully centered after unlocking.
- Check for dirt or debris under the joystick cap.
- Verify speed settings aren’t set to zero.
🛠️ If it still fails, the controller may need recalibration or replacement.
Magnet Unlock Not Working
- Try a stronger magnet. Neodymium magnets work best.
- Clean the sensor area—dirt can block detection.
- Hold the magnet flat and steady over the symbol for 2–3 seconds.
❗ If it still fails, the sensor may be damaged. See a technician.
Stuck or Rusty Manual Brakes
Older or infrequently used wheelchairs often have frozen brakes due to moisture or corrosion.
Free a Frozen Lever
- Spray penetrating oil (like WD-40) at the pivot point.
- Gently work the lever up and down.
- Wait 5–10 minutes, then retry.
🔧 Never pry or hammer. You could crack the frame or damage weld points.
🔄 If it moves slightly, lubricate weekly to restore full function.
Safety First: Best Practices
Avoid injury and damage with these essential rules.
Always Unlock Both Sides
Never roll with one brake engaged. It causes:
– Wheel damage
– Frame stress
– Uneven turning
✅ Double-check: Walk around the chair and confirm both levers are up.
Unlock Only When Safe
For powered chairs, don’t unlock on a slope or near stairs. The chair may lurch forward.
🛑 Best practice: Engage anti-tippers, position on flat ground, and ensure a clear path before unlocking.
Never Force a Mechanism
If a lever or joystick won’t move:
– Stop.
– Inspect.
– Lubricate or call for help.
Forcing parts leads to costly repairs.
Keep Tools Accessible
Store these items with your chair:
– Spare magnet (for G90-type)
– User manual (or digital copy)
– Lubricant spray
– Charging cable
📱 Pro tip: Save the manufacturer’s support number in your phone.
Quick Reference: Unlock Methods at a Glance
| Controller | Lock Signal | Unlock Method | Time-Sensitive? | Needs Magnet? |
|---|---|---|---|---|
| VSI | Dead joystick | Forward → Back → Center (beeps) | No | No |
| VR2 / RNET | Flashing lights | Forward → Back → Long beep | No | No |
| nVR2 | Rippling display | Power on → Forward → Back | No | No |
| DX2 / Shark | Scrolling LEDs | Horn ×2 in 10 sec | Yes | No |
| G90 / ACS | Flashing red key | Swipe magnet over symbol | No | Yes |
| LiNX | Unresponsive remote | Horn ×2 in 10 sec | Yes | No |
🖨️ Print this table and keep it in your chair’s pouch for quick access.
When to Call a Professional
Some issues can’t be fixed at home.
Seek Help If:
- Unlock sequence fails repeatedly
- Controller shows error codes (e.g., blinking 3 times)
- Battery won’t hold charge
- Mechanical lock is broken or bent
- Chair moves erratically after unlock
🛠️ Mobility technicians can diagnose controller faults, replace sensors, or reprogram systems.
Manufacturers like Permobil, Pride Mobility, and Quantum offer support hotlines and service locators.
Final Tips for Reliable Unlocking
- Practice the unlock sequence monthly—even if you use the chair daily.
- Label your controller type with a tag or note under the seat.
- Download the manual from the manufacturer’s website.
- Teach caregivers the correct method—they may need to unlock for you.
💡 Real-world hack: Tape a small magnet to the side of a G90 controller case so it’s always on hand.
Summary: Unlocking a wheelchair isn’t guesswork—it’s a precise action based on your model. Manual chairs need physical brake release; powered chairs require specific electronic sequences. Whether it’s a forward-backward joystick move, a double horn press, or a magnet swipe, following the right steps ensures safe, reliable mobility. Keep this guide handy, stay prepared, and never let a lock stop your independence.