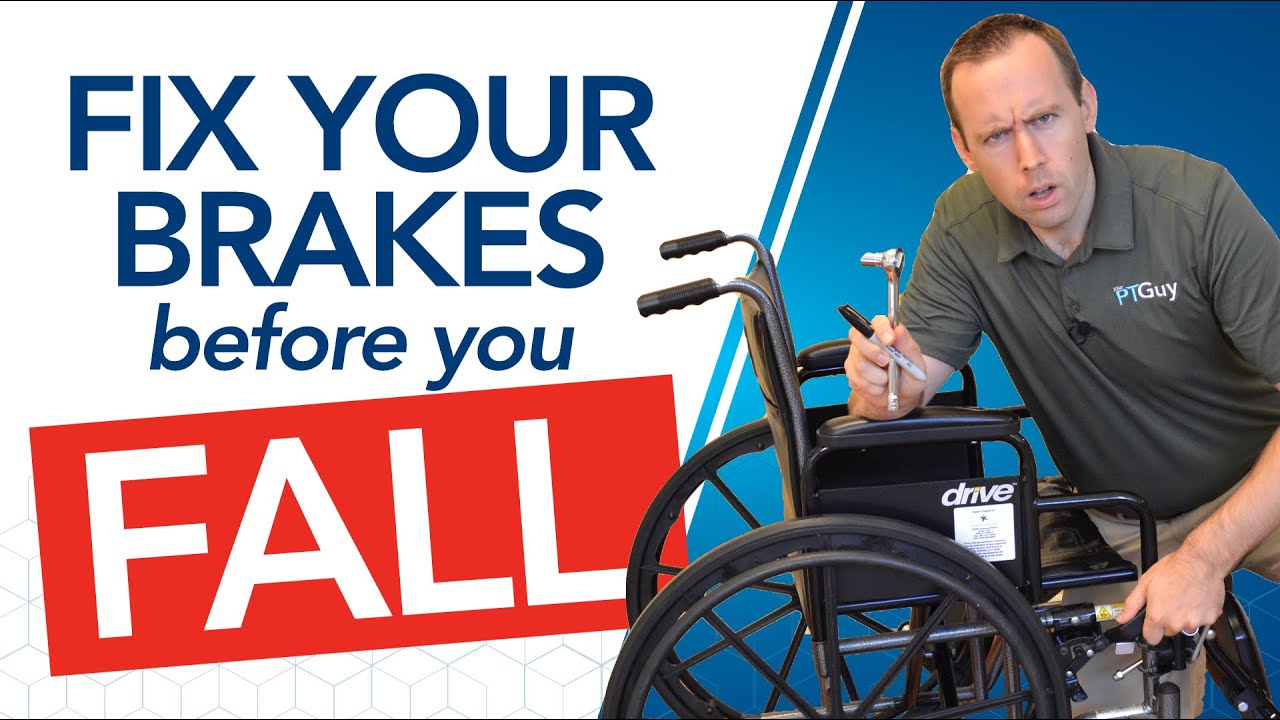
A wheelchair’s brakes are its most vital safety feature—without them, independence becomes risk. When brakes slip, fail to engage, or stick, the consequences can be serious: falls, injuries, or loss of control on even gentle slopes. The good news? Most brake issues aren’t signs of permanent failure—they’re fixable with basic tools and a few precise steps. Whether you’re a user, caregiver, or technician, learning how to repair and adjust wheelchair brakes puts safety back in your hands.
Common problems like loose levers, uneven engagement, or worn pads can often be resolved in under 15 minutes. This guide walks you through diagnosing issues, adjusting push-to-lock and cable-actuated brakes, replacing pads, and knowing when to replace the entire assembly. Based on technical standards and real-world feedback, these steps help restore reliable stopping power—no guesswork, no risk.
Identify Your Brake Type Before Repairing
The first step in any brake repair is knowing what system you’re working with. Different designs require different fixes.
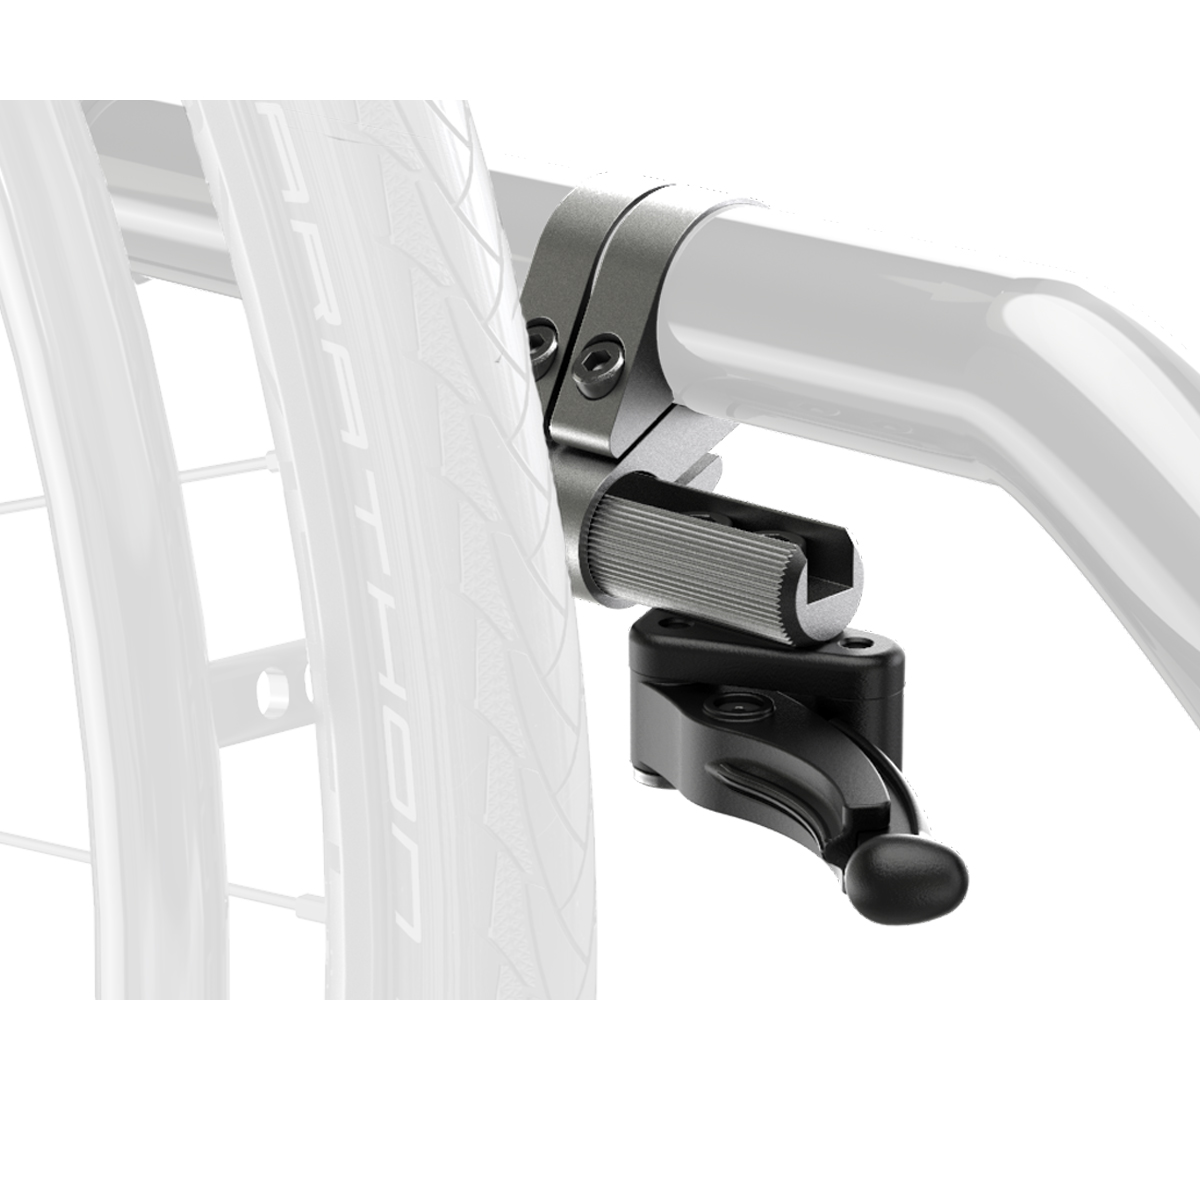
Push-to-Lock Brakes
These are the most common on manual wheelchairs. You engage them by pushing the lever down or forward until it clicks. They’re designed for ease of use, especially for those with limited hand strength.
Pull-to-lock variants exist too—these use body weight to pull the lever down, making them ideal for users with weak grip. Visually, look for a plastic or metal lever near the rear wheels ending in a rubberized pad that presses against the tire.
Scissor Brakes
Favored by active users, scissor brakes retract away from the wheel when disengaged, reducing the risk of fingers getting caught during propulsion. They feature a hinge mechanism that opens and closes like scissors.
Key Insight: These hinges need periodic cleaning and light lubrication. Dirt buildup here causes sticking or incomplete release.
Attendant Brakes
Located on the push handles, these are operated by a caregiver. Each side works independently, so one brake can fail while the other functions normally.
Red Flag: If only the left or right attendant brake isn’t locking, focus your troubleshooting on that side—don’t assume the whole system is faulty.
Diagnose the Problem Quickly
Brake Feels Loose or Won’t Hold
If the lever moves but the wheel spins freely, the brake isn’t making proper contact.
Common Causes:
– Brake bracket has shifted forward
– 11 mm mounting bolt is loose
– Tires are underinflated
– Brake pad is worn (less than 4 mm thick)
Quick Fix: Slide the brake assembly ¼ inch (6 mm) rearward and tighten the 11 mm bolt. Always check tire pressure first—this solves many “failed brake” cases.
Brakes Stick When Released
The wheel resists spinning even after you release the lever.
Likely Issues:
– Dirt or corrosion in pivot points
– Too much lubricant attracting dust
– Cable tension too high (on cable models)
Solution: Wipe clean with a dry cloth, then apply silicone-based lubricant sparingly to pivot joints.
No Click or Feedback When Locking
You push the lever, but it doesn’t “snap” into place.
Root Cause: The internal 10 mm bolts on the back of the brake assembly are loose, preventing full engagement.
Fix: Tighten those bolts with a 10 mm wrench—this simple step often restores full function.
Prepare for Adjustment: Critical First Steps
Inflate Tires Fully
Adjusting brakes on flat tires is a mistake. Underinflated tires reduce diameter, throwing off alignment. Once inflated, the brake pad may no longer touch the tire.
Pro Tip: Check pressure weekly using a hand pump with a gauge. Inflate to the PSI marked on the tire sidewall.
Work on Level Ground
Always park the wheelchair on a flat surface. Lock the opposite wheel or use a wheel chock to prevent rolling.
For Rear Access: Gently tip the chair backward, supporting the frame with your leg or a helper.
Tools You’ll Need for Repair
| Tool | Purpose |
|---|---|
| 11 mm wrench/socket | Loosen brake bracket mounting bolt |
| 10 mm wrench/socket | Tighten internal assembly bolts |
| 5 mm Allen key (T-bar recommended) | Adjust brake pad position |
| Sharpie marker | Mark original bracket position |
| Silicone lubricant | Lubricate pivots without attracting grime |
Important: A T-bar Allen key gives better leverage in tight spaces. Never use pliers on bolts—this can strip them.
Adjust Push-to-Lock Brakes Step-by-Step
Mark the Starting Position
Use a Sharpie to draw a line where the brake bracket meets the frame. This reference lets you return if you over-adjust.
Why It Matters: Ensures symmetry between left and right brakes—critical for balanced performance.
Loosen the 11 mm Mounting Bolt
Locate the bolt securing the brake to the frame. Loosen it just enough to allow sliding—don’t remove it.
Warning: Removing it completely can cause misalignment or lost washers.
Slide Brake Rearward
Move the entire assembly ¼ inch (6 mm) toward the back of the chair. This increases pressure between the pad and tire.
For Larger Adjustments: Loosen the 5 mm Allen set screw and push the brake block forward 3–4 cm before retightening.
Test the Engagement
Push the lever fully and try to spin the wheel by hand.
- ✅ Success: Wheel doesn’t turn; you feel a solid click.
- ❌ Failure: Wheel spins—make smaller adjustments until it locks.
Golden Rule: Properly adjusted brakes should lock with less than 5 lbs of hand pressure—no straining required.
Tighten Internal 10 mm Bolts
Secure the bolts on the back of the brake mechanism. These keep the arms aligned under stress.
Skip This? Brakes may loosen again within days due to vibration and daily use.
Adjust Cable-Actuated Brakes
Some wheelchairs use bicycle-style cables connected to the brake lever.
Find the Barrel Adjuster
Look for a small knob or cylinder near the lever or along the cable housing.
- Turn clockwise → increases tension (tightens brake)
- Turn counterclockwise → decreases tension (loosens brake)
Test After Each Turn: Engage brake and spin wheel. Stop when contact is firm but the lever isn’t stiff.
Pro Tip: If the cable is frayed or rusted, replace it—tension tweaks won’t fix damaged cables.
Replace Worn Brake Pads
Know When to Replace
Check pad thickness monthly. Replace if:
– Material is thinner than 3–4 mm
– Surface is cracked or uneven
– Braking power drops despite correct adjustment
User Insight: 90% of “failed” brakes are actually just worn pads—easy and inexpensive to fix.
Remove Old Pads
Disengage the brake. Use a screwdriver or Allen key to remove clips or screws. Slide out the old pad.
Caution: Don’t force brittle pads—they can break inside the housing.
Install New Brake Pads
Use manufacturer-recommended replacements (e.g., Medline, Drive Medical). Generic pads may not fit or wear quickly.
Fit Check:
– Pad should contact the entire width of the tire or rim.
– No rubbing when brake is released.
Final Test: Engage and release 10 times. Confirm smooth operation and full release.
Replace the Entire Brake Assembly
When Full Replacement Is Needed
Replace the whole unit if:
– Bracket is cracked or bent
– Lever mechanism is broken
– Repeated adjustments fail
– Corrosion has weakened structural integrity
Cost vs. Safety: A new brake assembly ($20–$50) is cheaper than an injury.
Step-by-Step Installation
-
Secure the Wheelchair
– Block the opposite wheel.
– Tip back if needed. -
Remove Old Assembly
– Use an 11 mm wrench to remove mounting nuts from the back.
– Pull the brake away—note washer placement. -
Install New Brake
– Align with original holes.
– Insert bolts from inside the frame (prevents snagging clothes or skin).
– Add washers if used previously. -
Tighten and Test
– Fasten nuts securely—don’t overtighten.
– Engage brake: wheel should lock instantly.
– Release: wheel spins freely. -
Fine-Tune Position
– Make micro-adjustments if contact is uneven.
– Recheck both sides for balanced performance.
Maintain Brakes for Longevity
Weekly Inspection Checklist
- ✅ Are both brakes locking securely?
- ✅ Do levers return fully when released?
- ✅ Is there visible wear or wobble?
- ✅ Are tires inflated?
Quick Field Test: Apply brakes and push the chair forward gently. It should not move.
Clean Components Monthly
Wipe down brake levers, brackets, and pads with a damp cloth.
Avoid:
– Harsh chemicals
– High-pressure water
– Steel wool or abrasive pads
Lubricate Every 3–6 Months
Use silicone-based lubricant on:
– Pivot points
– Scissor joint hinges
– Cable entry points
Less Is More: One spray or drop per point. Excess lube traps dust and reduces performance.
Troubleshoot Fast with This Guide
| Symptom | Cause | Fix |
|---|---|---|
| Brake slips | Bracket shifted forward | Slide back ¼ inch, tighten 11 mm bolt |
| Won’t release | Dirt or over-lube | Clean, relube lightly |
| One side fails | Isolated misalignment | Adjust or replace that side only |
| Hard to press | Cable too tight | Loosen barrel adjuster |
| No click | Loose 10 mm bolts | Tighten bolts on back of assembly |
| Pad rubs when off | Misaligned block | Loosen 5 mm set screw, reposition |
When to Call a Professional
Seek expert help if:
– Adjustment doesn’t fix the issue
– Frame or lever is damaged
– You lack tools or confidence
– Cables or internal parts need replacement
Find a Qualified Technician
- Contact the manufacturer for authorized repair centers.
- Ask local medical supply stores for referrals.
- Check with rehab clinics or OT departments.
- Try bicycle shops—many have transferable skills.
Verify Experience: Ask if they’ve worked on mobility devices. Safety standards differ from bikes.
Safety Best Practices
Before Every Use
- Apply both brakes and push the chair slightly to confirm it stays put.
- Check for smooth lever movement.
Use Brakes Correctly
- Always engage until you hear or feel a click.
- On slopes, back up slightly before locking to reduce pressure on the mechanism.
Never Delay Repairs
A faulty brake isn’t just inconvenient—it’s dangerous. Falls from wheelchairs often result in fractures or head injuries, especially in older adults.
Fact: Brakes should hold on inclines up to 6–8 degrees. Test on gentle slopes occasionally.
Final Tips for Reliable Braking
- Always start with tire pressure—it’s the root of most alignment issues.
- Mark positions before adjusting—saves time and ensures symmetry.
- Use OEM parts when replacing—aftermarket pads may skid or wear fast.
- Lubricate sparingly—grease attracts debris that impairs function.
- Test both sides equally—mismatched brakes cause drifting or uneven wear.
High-quality brakes last 1–3 years with proper care. But even the best will fail without maintenance.
Final Note: Your safety depends on functioning brakes. Don’t wait for a near-miss to act. With the right tools and this guide, you can fix most issues in under 15 minutes. If in doubt, consult a professional—your mobility and independence depend on it.