If you’ve ever felt your wheelchair pulling to one side or heard the telltale thump-thump of a flat tire, you know how quickly a small issue can disrupt your day. A compromised tire doesn’t just slow you down—it increases propulsion effort, reduces stability, and can even lead to falls or equipment damage. The good news? Most pneumatic wheelchair tires can be repaired at home, saving time, money, and unnecessary service calls. Whether you use a manual chair or a power wheelchair, knowing how to fix a wheelchair tire gives you control over your mobility. This guide walks you through identifying tire types, locating and patching leaks, and knowing when replacement is the safer choice—all with clear, actionable steps.
You’ll learn exactly what tools you need, how to avoid common repair mistakes, and how to maintain your tires to prevent future flats. From diagnosis to final inflation, we’ll cover every step so you can get back on the move—fast and safely.
Identify Your Wheelchair Tire Type
Before grabbing tools, confirm what kind of tire you’re working with—repair options depend entirely on the type.
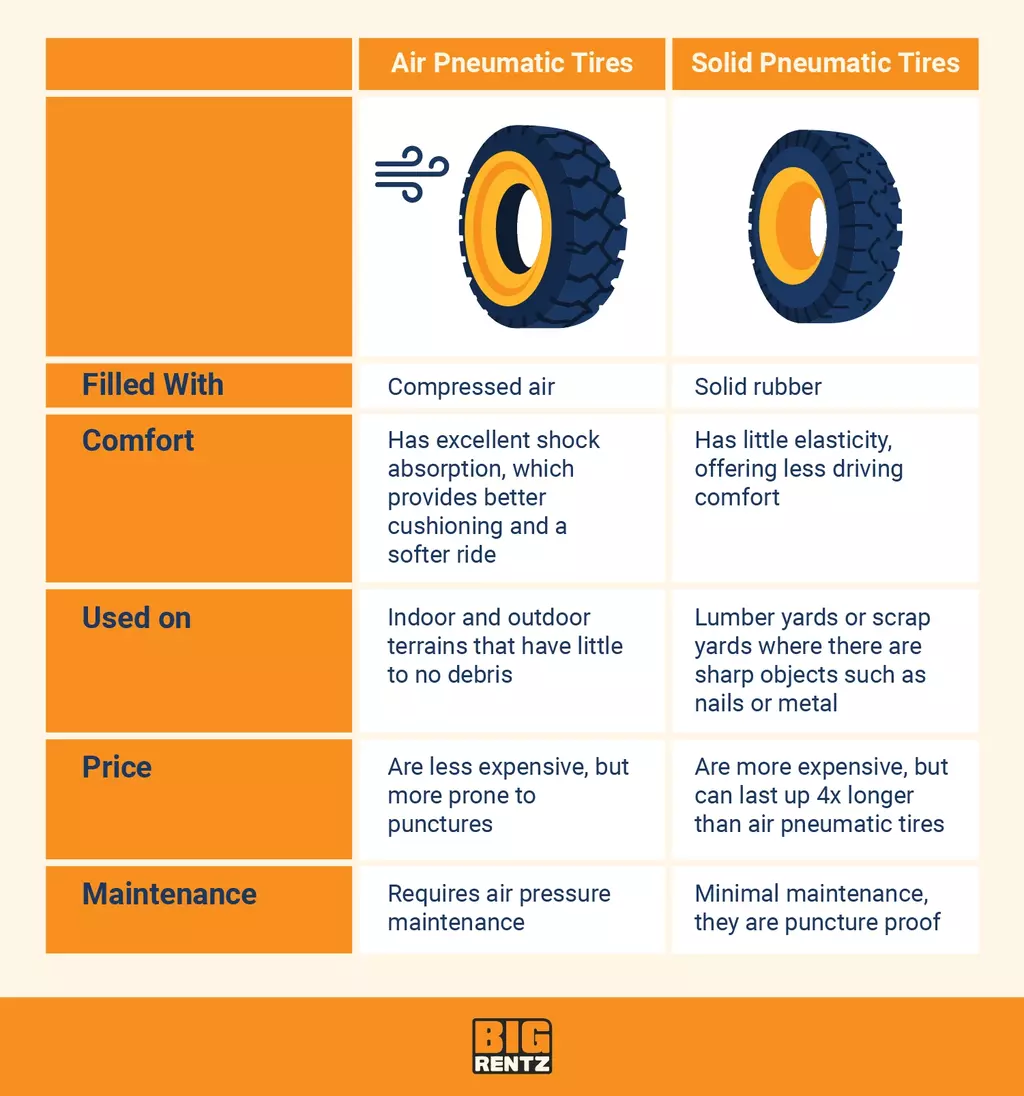
Pneumatic (Air-Filled) Tires
These soft, rubber tires contain an inner tube filled with air, much like a bicycle. They offer excellent cushioning and traction, especially on rough sidewalks, gravel, or grass. Because they’re air-filled, they’re vulnerable to punctures from glass, nails, or sharp debris. But the upside? They’re the only type you can patch.
Look for:
– A valve stem that accepts a bike-style pump
– Slight give when pressed with your thumb
– Common on active users and outdoor-focused models
Pro Tip: Most pneumatic tires require 30–60 PSI—check the sidewall or manual for exact specs.
Solid Rubber Tires
These dense, airless tires are made of rubber or polyurethane. They never go flat and need no maintenance, making them ideal for indoor use or short trips. However, they provide minimal shock absorption and can make rides jarring on uneven surfaces. They cannot be repaired if cracked, worn, or damaged—only replaced.
Best for:
– Smooth indoor environments
– Users who prioritize low maintenance
– Areas with frequent road debris
Flat-Free (Foam-Filled) Tires
These mimic pneumatic tires in shape and feel but are filled with solid rubber or foam. Often found on power wheelchairs and scooters, they eliminate flat risks but gradually lose tread and performance. Like solid tires, they cannot be patched—only replaced when worn.
Signs it’s time to replace:
– Tread depth less than 1/8 inch
– Cracks, chunks missing, or visible wear
– Wobbling or uneven rolling
Note: Some flat-free models, like the LT-980, weigh about 13 lbs—check compatibility before swapping.
Spot Early Warning Signs of Tire Damage
Catching problems early prevents bigger issues and keeps your chair running smoothly.
Signs You Have a Flat or Leaking Tire
- Wheel feels “spongy” or drags when pushed
- Chair pulls to one side during use
- Noticeable drop in air pressure over a few days
- Sidewall bulging or collapsing under load
- Increased effort required to propel the chair
Weekly Visual Inspection Routine
Make this quick check part of your routine:
– Run your fingers over the tread to find embedded glass, thorns, or nails
– Look for cuts, cracks, or uneven wear
– Inspect the bead (edge of the tire) where it meets the rim
– Check the valve stem for leaks or damage
Expert Tip: Take photos during disassembly—especially on power chairs with wiring or motor mounts. It helps with reassembly later.
Gather the Right Tools for the Job
Having the correct tools makes the repair faster, safer, and more effective.
Essential Repair Kit
- Tire levers (2–3): To pry the tire bead off the rim without damaging it
- Patch kit: Includes sandpaper, rubber cement, and pre-cut patches
- Air pump with gauge: For accurate inflation—don’t guess the PSI
- Wrench or socket set: To remove axle nuts (common sizes: 14mm, 15mm)
- Gloves: Protect hands from sharp edges and grime
- Rag and soapy water: For cleaning and lubricating during reinstallation
Upgrade Option: Install puncture-resistant inner tubes during repair to reduce future flats—especially useful for outdoor users.
Step-by-Step: Repair a Pneumatic Wheelchair Tire
This method applies only to pneumatic tires with removable inner tubes.
Remove the Wheel
Turn off the wheelchair and disconnect the battery if it’s a power model. Use a wrench to loosen the axle nuts or bolts. Carefully slide the wheel out—some models require removing brake components or motor covers. Refer to your user manual if unsure.
Warning: Power chair wheels are heavy—get help if needed.
Deflate and Remove the Tire
Press the valve core with a small tool (like a nail or valve key) to release all air. Insert a tire lever between the tire bead and rim, hooking it onto a spoke. Use a second lever to walk around the rim, loosening one side of the bead. Repeat on the opposite side to fully remove the tire.
Trick: Spray soapy water on the bead to ease removal if it’s stuck.
Extract and Inspect the Inner Tube
Gently pull the tube out from inside the tire. Inflate it slightly to help spot the leak—don’t skip this step, as tiny holes are easy to miss.
Find the Puncture
Use one of these reliable methods:
– Water Submersion: Dip the inflated tube in water and watch for bubbles
– Soapy Water Spray: Apply to the tube—bubbles form at leak points
Check the entire surface, including seams and the valve base. Mark the hole with a pen.
Critical: If the hole is larger than 6mm, near the valve, or on the sidewall—replace the tube. Patching won’t hold.
Prep the Surface for Patching
Sand a 2–3 cm area around the puncture with the patch kit’s sandpaper. Wipe away dust. Apply a thin layer of rubber cement and let it dry until tacky (2–5 minutes).
Apply the Patch
Peel the backing off the patch and press it firmly over the hole. Use a credit card to rub out air bubbles. Hold for 30 seconds. Let cure 15–30 minutes before reinflating.
Never use duct tape as a permanent fix—it fails under heat and pressure.
Reinstall the Tire and Tube
Insert the Tube and Tire
Partially inflate the tube (just enough to hold shape). Place it inside the tire, ensuring it’s not twisted. Align the tire with the rim and begin pressing the bead back on by hand.
Seat the Bead Properly
Use tire levers to finish the last section, but be careful not to pinch the tube. Work slowly and evenly.
Visual Cue: The tube should not be visible between tire and rim.
Reattach and Inflate the Wheel
Slide the wheel back into the frame. Tighten axle nuts securely. Inflate to the PSI marked on the tire (usually 30–60 PSI). Spin the wheel—ensure it turns freely without wobbling or rubbing.
Final Check: Recheck pressure after 24 hours—new tubes may settle slightly.
Know When to Replace Instead of Repair

Some damage is beyond repair. Don’t risk safety with a failing tire.
Replace the Inner Tube If:
- Hole is too large or jagged
- Multiple leaks present
- Rubber is brittle or cracked
- Leak is at the valve stem base
Replace the Entire Tire If:
- Tread is bald or deeply worn
- Sidewall is cracked or bulging
- Bead won’t seal to the rim
- Tire has been patched multiple times
- It’s over 3–5 years old
Replace Solid or Flat-Free Tires When:
- Tread depth < 1/8 inch
- Chunks missing or deep cracks
- Wheel wobbles or rolls unevenly
Athlete Insight: Pro users like Darryl Tait replace tires proactively—performance and control depend on reliable traction.
Prevent Flats with Smart Maintenance
Extend tire life with simple, consistent habits.
Weekly Maintenance Checklist
- Test pressure with a gauge—don’t guess
- Remove debris before it works deeper
- Clean tires with mild soap and water
- Rotate tires if your model allows
Protect Your Tires
- Avoid curbs, gravel, and sharp objects
- Store indoors to reduce UV and temperature damage
- Use tire covers (slippers) to trap dirt and protect floors
- Add fenders to reduce splash and debris buildup
Benchmark: Properly inflated tires reduce propulsion effort by up to 30% compared to underinflated ones.
Manual vs. Power Chair: Repair Differences

Manual Wheelchairs
- Smaller wheels, simpler hubs
- Easy to remove and repair solo
- Most use pneumatic or solid tires
Power Wheelchairs & Scooters
- Larger, heavier wheels
- May need motor or brake disassembly
- Some use proprietary fasteners—check the manual
- Often equipped with flat-free tires
Video Help: Forest Mobility offers model-specific tutorials for common power chair repairs.
Avoid Common Repair Mistakes
- Over-tightening axle nuts: Can damage bearings or frame
- Underinflating tires: Increases rolling resistance and risk of pinch flats
- Overinflating: Reduces traction and cushioning, raises blowout risk
- Mixing tire types: Using different tires left and right causes drifting
Safety Note: Mismatched pressure or tread leads to instability—always match both sides.
Repair vs. Replacement: Cost Comparison
| Item | Average Cost |
|---|---|
| Inner Tube | $15–$30 |
| Patch Kit | $8–$15 |
| Pneumatic Tire | $40–$80 |
| Flat-Free Tire | $60–$120 |
| Professional Service | $50–$100 |
DIY Benefit: Fixing it yourself saves money and builds independence. Replace both tires at once for balanced performance.
Final Test Before Use
After repair or replacement:
– Spin the wheel—should rotate smoothly
– Check for rubbing against frame or brakes
– Test in a safe area at low speed
– Recheck inflation after 24 hours
Key Takeaways
- Only pneumatic tires can be patched—solid and flat-free types must be replaced
- Inspect weekly for pressure, wear, and debris
- Use proper tools—tire levers and patch kits make all the difference
- Replace, don’t patch, if damage is near the valve, large, or on the sidewall
- Maintain correct PSI to reduce effort and prevent flats
- Consider puncture-resistant tubes for high-risk environments
- Fixing your own tire builds confidence and keeps you mobile
Empowerment Note: Every repair is a win for independence. Knowing how to fix a wheelchair tire means you’re never stuck for long.